When a Groin Pull Stops You in Your Tracks
The best exercise for a pulled groin muscle starts with the right moves at the right time — here’s a quick overview:
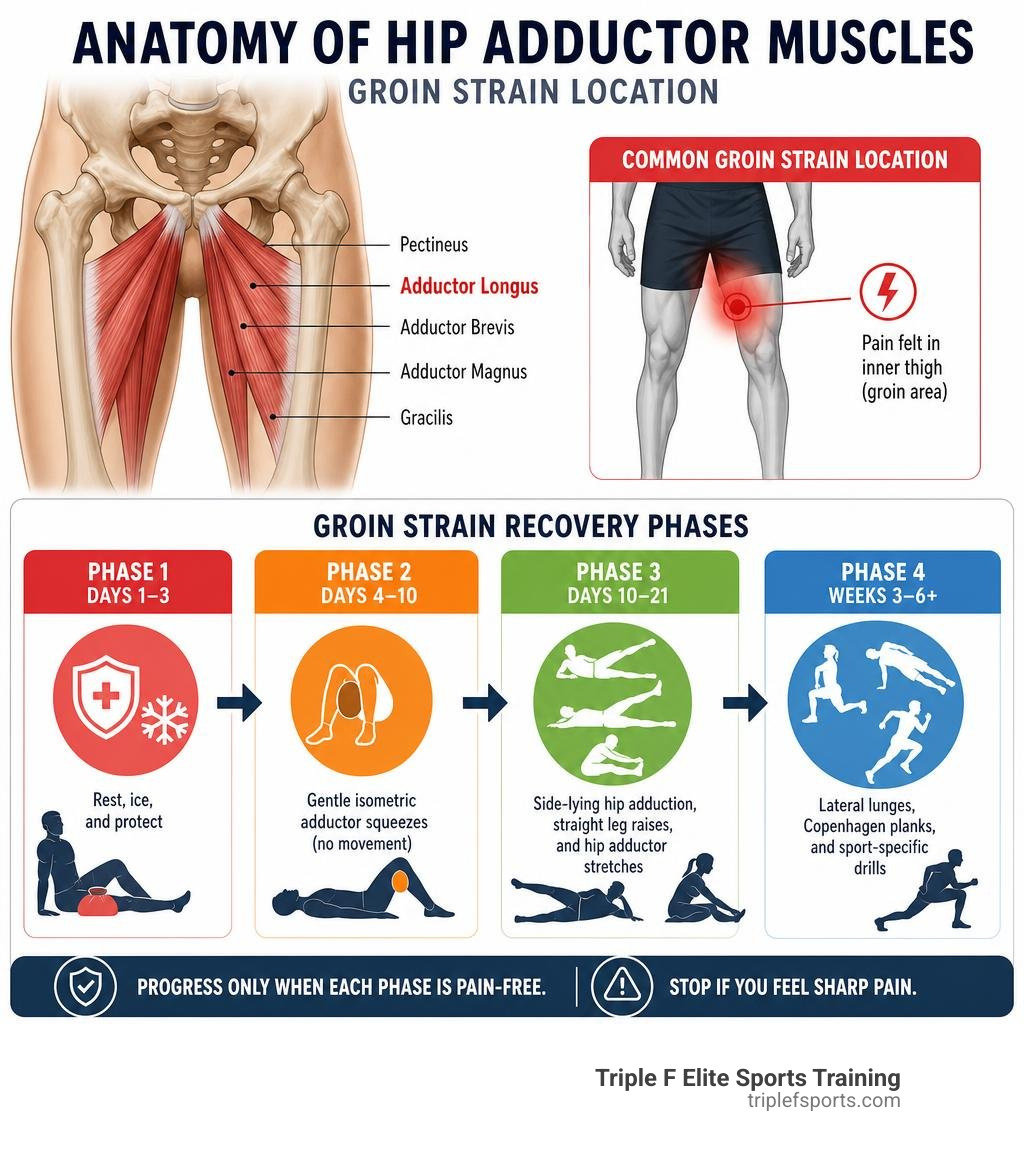
- Phase 1 (Days 1–3): Rest, ice, and protect the area. No exercise yet.
- Phase 2 (Days 4–10): Gentle isometric adductor squeezes — no movement, just light muscle activation.
- Phase 3 (Days 10–21): Side-lying hip adduction, straight leg raises, and hip adductor stretches.
- Phase 4 (Weeks 3–6+): Lateral lunges, Copenhagen planks, and sport-specific drills.
Progress only when each phase is pain-free. Stop if you feel sharp pain.
A groin strain can hit fast and hard. One wrong cut on the field, one explosive sprint, and suddenly you’re grabbing your inner thigh and limping off to the sideline. It’s more common than most athletes realize — groin injuries account for anywhere from 4 to 19% of all injuries in soccer players alone, and athletes in hockey, basketball, and football face similar risks.
The frustrating part? Without the right approach, these injuries linger. Push too hard too soon, and you’re back to square one. Wait too long to move, and the muscle loses strength and flexibility. The window for smart rehabilitation is real, and what you do in those first days and weeks matters enormously.
I’m Kevin O’Shea, a Certified Strength and Conditioning Specialist with experience developing athletes at every level, and I’ve worked with plenty of competitors who’ve had to learn the hard way that smart exercise for a pulled groin muscle is the difference between a two-week setback and a five-month ordeal. In the sections below, I’ll walk you through exactly what to do — and when — so you can get back to training with confidence.
Understanding Groin Strains: Causes, Symptoms, and Immediate Care
When we talk about a “pulled groin,” we are referring to an injury of the adductor muscle group located on the inside of the thigh. This group consists of several muscles, but the adductor longus is the one most frequently injured. These muscles are responsible for pulling your legs together and stabilizing your pelvis during complex, dynamic movements.
A groin pull is essentially a muscle tear that happens when these fibers are stretched beyond their limits or subjected to sudden, intense resistance. This is why we see so many groin-related soccer injuries and hockey strains — sports that require explosive lateral cutting, kicking, and rapid changes of direction place massive load on the adductors.
However, before diving into a rehabilitation program, it is essential to recognize the signs of a true groin strain and rule out other issues.
Groin Strain vs. Hernia
It is easy to mistake an inguinal hernia for a groin strain because both cause discomfort in the lower abdomen and crease of the hip. However, a hernia is a protrusion of tissue through a weak spot in the abdominal wall and will not heal with physical therapy or rest. A quick way to check is to look or feel for a palpable bulge in the lower abdomen or groin area that becomes more prominent when you cough or strain. If you suspect a hernia, you should consult a physician immediately. You can read more about identifying these differences in this guide on Groin Pull: Causes, Symptoms & Treatments.
To help you understand the severity of a true adductor injury, we categorize groin strains into three distinct grades:
| Injury Severity | Description | Estimated Recovery Timeline |
|---|---|---|
| Grade I (Mild) | Minor stretching or micro-tears of the muscle fibers. Mild tenderness, but minimal loss of strength. | 3 to 6 weeks |
| Grade II (Moderate) | Partial tearing of the muscle fibers. Notable pain, swelling, bruising, and a clear loss of strength. | 6 to 12 weeks |
| Grade III (Severe) | Complete rupture of the muscle or tendon. Severe pain, extensive bruising, and a total loss of function. | 3 to 6 months (May require surgery) |
Immediate Care: The PRICE Protocol
In the first 48 to 72 hours following an acute injury, our primary goal is to limit swelling and protect the damaged tissue. This is not the time to search for a heavy exercise for a pulled groin muscle or force aggressive stretches. Instead, we rely on the classic PRICE protocol combined with smart load management.
- P – Protect: Protect the injured area from further trauma. If walking causes a limp, use crutches for the first 2 to 3 days to keep excess weight off the leg.
- R – Rest: Avoid any physical activities, sports, or movements that trigger pain in your inner thigh.
- I – Ice: Apply an ice pack wrapped in a thin towel to the groin area for 15 to 20 minutes, 3 to 5 times a day. This helps constrict blood vessels and manage acute pain.
- C – Compression: Use a supportive compression wrap or groin sleeve. This provides external support and prevents excessive swelling from pooling in the thigh.
- E – Elevation: Whenever you are resting, prop your hips and legs up on pillows to assist lymphatic drainage and reduce swelling.
Transitioning from this initial rest phase to active recovery is a delicate process. If you want a deep dive into how elite athletes navigate this transition safely, check out our guide on From Injury to Victory: Mastering Athlete Recovery and Rehab.

Step-by-Step Exercise for Pulled Groin Muscle Recovery
Once the sharp, acute pain begins to subside (typically within 3 to 5 days for a Grade I or mild Grade II strain), we can begin introducing structured movements. The modern approach to rehabilitation rejects the old idea of total, prolonged bed rest. Instead, we focus on progressive loading — gradually exposing the healing muscle fibers to controlled tension to build tissue capacity without causing re-injury.
Throughout this process, you must monitor your pain. We use a simple 0-to-10 pain scale. During any rehab exercise for a pulled groin muscle, your pain should never exceed a 3 out of 10. If an exercise causes sharp, pinching pain, or if your pain increases the following day, you are loading the tissue too heavily and need to scale back.
Phase 1: Isometric Exercise for Pulled Groin Muscle Relief
Isometric exercises involve contracting the muscle without changing its length or moving the joint. This is the safest way to begin stimulating the adductor longus because it minimizes shear force on the healing fibers.
1. Back-Lying Ball Squeeze (Double-Leg Isometric)
This exercise allows you to gently wake up the adductor muscles while keeping your pelvis fully supported by the floor.
- How to do it: Lie flat on your back with your knees bent and feet flat on the floor. Place a soft ball (like a 12-to-16-inch beach ball or a soccer ball) or a rolled-up pillow between your knees.
- The Action: Gently squeeze the ball using the muscles on the inside of your thighs. Hold this squeeze for 5 seconds, then slowly release.
- Dosage: Start with 3 to 5 repetitions at a very light effort (about 20% of your maximum strength). If this is pain-free, gradually increase your squeezing effort. Perform 2 sets of 10 repetitions daily.
2. Seated Ball Compression
As your tolerance improves, performing isometric squeezes in a seated position changes the angle of hip flexion, targeting different portions of the adductor group.
- How to do it: Sit upright on a firm chair with your feet flat on the floor. Place the ball or pillow between your knees.
- The Action: Engage your core and squeeze your knees together against the ball. Hold the contraction for 5 to 10 seconds, maintaining a normal breathing pattern.
- Dosage: Perform 3 sets of 10 repetitions, resting 30 seconds between sets.
For more details on setting up these early-stage movements, you can reference the clinical guidelines found in this Rehabilitating a Groin Pull | MDedge article.
Phase 2: Concentric and Eccentric Exercise for Pulled Groin Muscle Strengthening
Once you can perform isometric holds at a moderate effort without pain, it is time to introduce movement. This phase focuses on concentric (shortening) and eccentric (lengthening) muscle contractions to rebuild the strength of the inner thigh.
1. Side-Lying Hip Adduction
This is a classic, highly isolated exercise for a pulled groin muscle that targets the injured leg without placing the weight of your entire body on the hip joint.
- How to do it: Lie on your injured side. Take your uninjured top leg and cross it over the bottom leg, placing your top foot flat on the floor in front of your bottom knee. (If this is uncomfortable, you can rest your top knee on a pillow behind you).
- The Action: Keep your bottom leg completely straight and pull your toes slightly toward your shin. Slowly raise your bottom leg about 6 to 8 inches off the floor. Hold for 2 seconds at the top, then slowly lower it back down over a 3-second count (focusing on the eccentric phase).
- Dosage: Perform 2 sets of 12 to 15 repetitions on the injured side.
2. Straight Leg Raise (SLR)
While the straight leg raise primarily targets the quadriceps and hip flexors, it requires the adductors to fire statically to keep the leg aligned, making it a fantastic transition exercise.
- How to do it: Lie flat on your back. Bend your uninjured knee and place that foot flat on the floor. Keep your injured leg completely straight.
- The Action: Tighten the front of your thigh on the straight leg, then slowly lift your heel about 8 to 10 inches off the floor. Hold for 2 seconds, then slowly lower it down.
- Dosage: Perform 3 sets of 10 to 12 repetitions.
3. Introduction to the Copenhagen Plank (Short Lever)
The Copenhagen plank is widely considered the gold standard for adductor strength and groin injury prevention. However, the full version is incredibly intense. We always start with a modified, short-lever version.
- How to do it: Lie on your side on the floor, facing perpendicular to a bench or sturdy chair. Place your top knee (the uninjured leg) on top of the bench, with your knee bent at 90 degrees. Your bottom leg (the injured side) starts resting on the floor.
- The Action: Press down through your top knee to lift your hips off the floor, creating a straight line from your shoulders to your knees. Gently lift your bottom leg so it hovers just below the bench. Hold this position for 5 to 10 seconds before lowering down.
- Dosage: Start with 3 to 5 short holds per side.
To understand how these specific therapeutic movements work together to rebuild weak tissues, take a look at our breakdown of Beyond the Basics: What is Therapeutic Exercise in Physical Therapy?. For a structured, printable guide of these progressive exercises, you can also check out this Adductor strain exercises handout: Free PDF download & guide – Free PDF Download | Pabau.
Phase 3: Dynamic Groin Pull Stretches and Functional Progressions
We do not introduce dynamic stretches until the healing muscle has regained its basic strength. Stretching a freshly torn muscle too early will disrupt the scar tissue forming over the tear, delaying your recovery. Once you are ready, these exercises will restore your full range of motion.
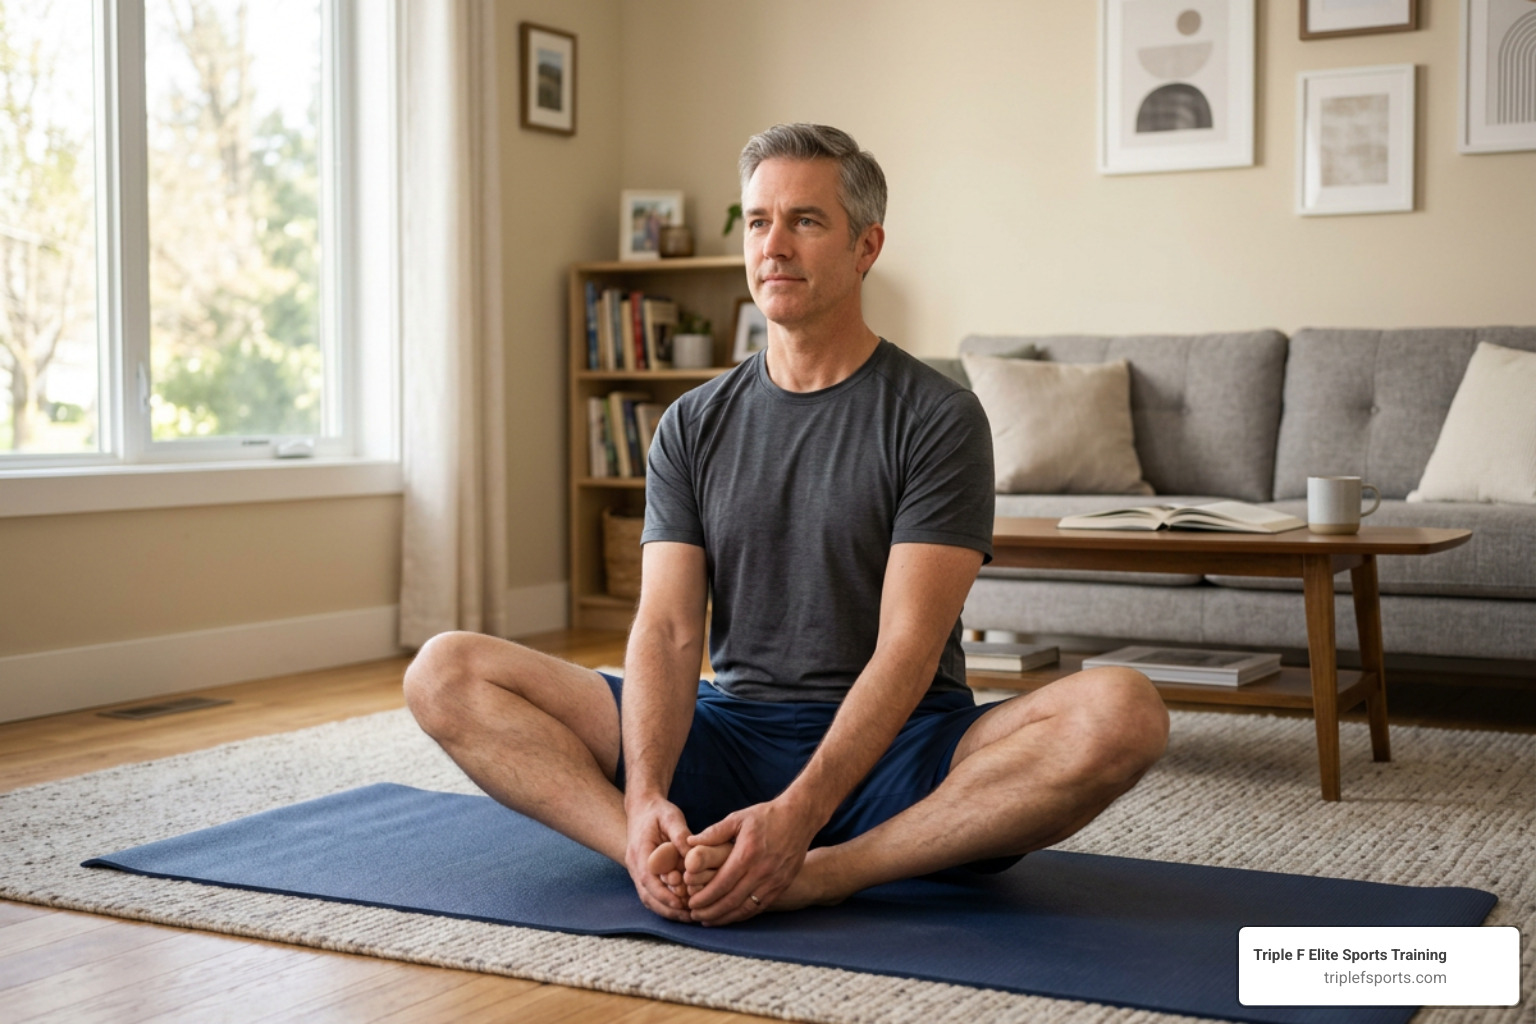
1. Gentle Hip Adductor Stretch (Butterfly Stretch)
This exercise provides a controlled, bilateral stretch to the inner thigh muscles.
- How to do it: Lie on your back with your knees bent and feet flat on the floor. Slowly allow your knees to drop open to the sides, bringing the soles of your feet together.
- The Action: Let gravity gently pull your knees toward the floor until you feel a mild, comfortable stretch in your groin. Do not bounce or force your knees down. Hold this position for 20 to 30 seconds.
- Dosage: Perform 3 repetitions, twice daily.
2. Active Hamstring and Adductor Stretch
Because the hamstring and adductor muscles work closely together to stabilize the hip, restoring flexibility to both is crucial.
- How to do it: Lie on your back near a doorway. Place your uninjured leg flat on the floor through the doorway, and rest your injured leg up against the wall, keeping your knee as straight as tolerable.
- The Action: Gently slide your hips closer to the wall until you feel a moderate stretch along the back of your thigh and inner hip. Hold for 15 to 30 seconds, breathing deeply.
- Dosage: Repeat 3 times.
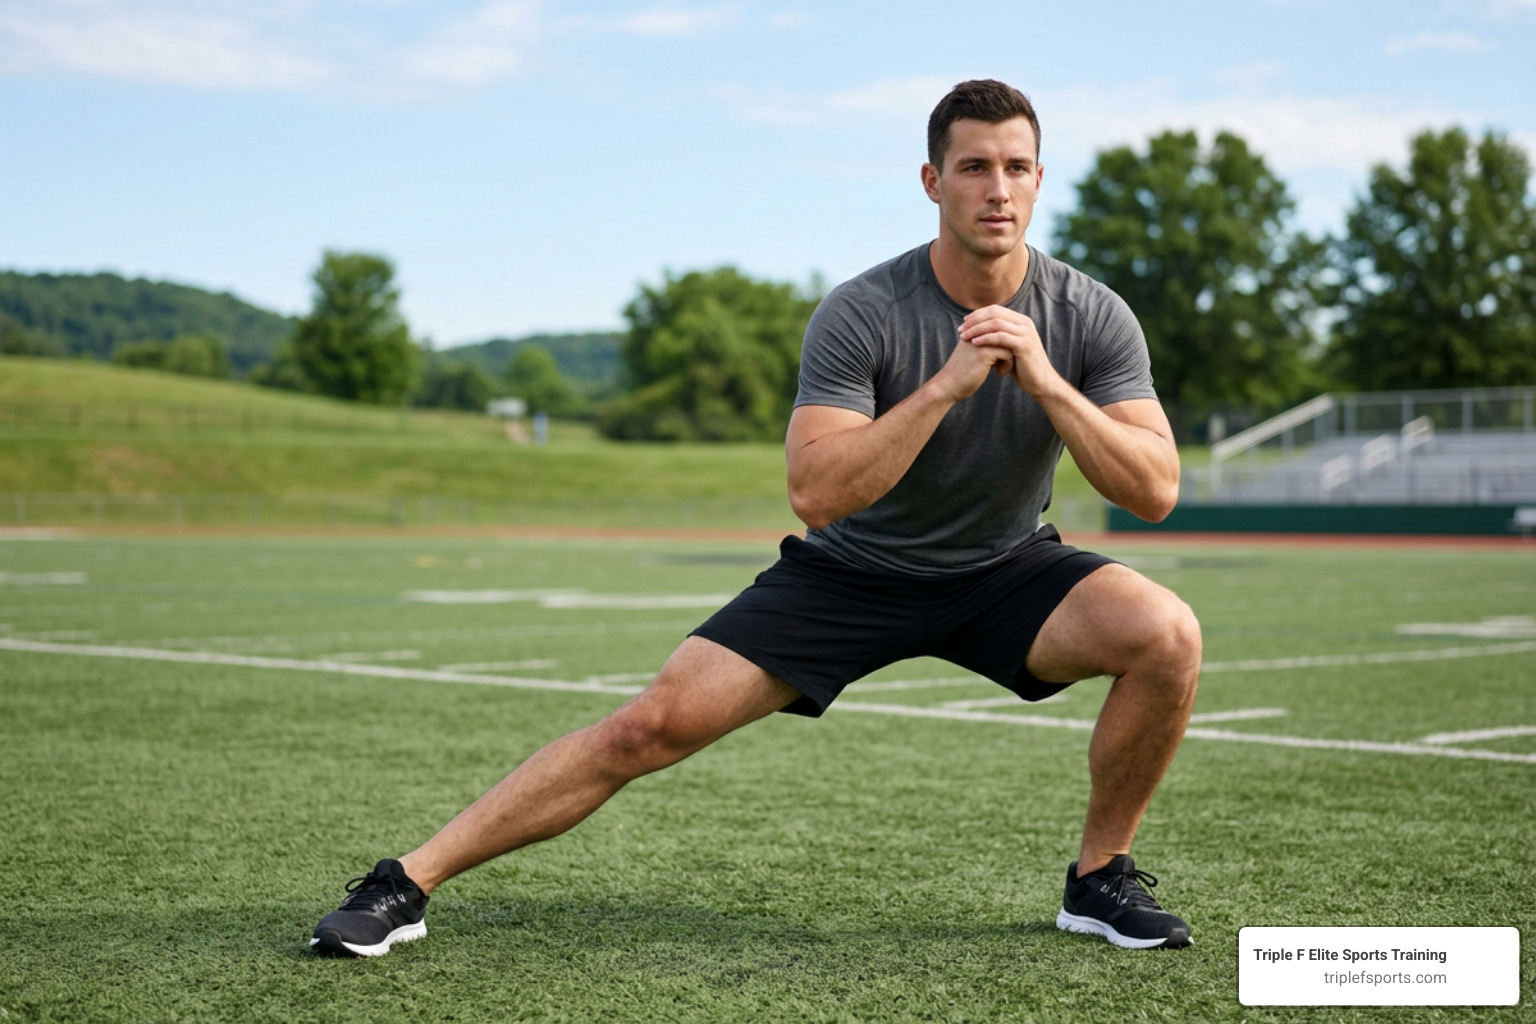
3. Lateral Lunges (Bodyweight)
This is our first major step toward lateral movement. It transitions the adductors from isolated strength to functional, weight-bearing mobility.
- How to do it: Stand with your feet hip-width apart.
- The Action: Take a wide step out to the side with your uninjured leg. Bend that knee and push your hips back into a side lunge, keeping your injured leg completely straight on the opposite side. You will feel a dynamic stretch along the inner thigh of the straight leg. Push off the bent leg to return to the starting position. As you heal, you will perform this stepping onto the injured leg as well to build eccentric deceleration strength.
- Dosage: Perform 2 sets of 10 slow, controlled repetitions per side.
For additional guidance on safe stretching techniques, you can explore the resources provided in this article on Groin Stretches for Pain and Injury Prevention.
Preventing Re-Injury and Safely Returning to Sport
The biggest mistake we see athletes make is returning to their sport the second they feel pain-free during daily walks. However, sprinting, cutting, and kicking place forces on the groin that are many times greater than walking. A structured, criterion-based progression is essential to avoid falling into a chronic re-injury cycle.
The Return-to-Running Protocol
Before you return to competitive play, you must complete a progressive running program. This begins with a straight-line walk-to-jog progression:
- Stage 1: Flat, straight-line jogging at 50% effort. No sudden stops or turns.
- Stage 2: Straight-line running up to 75% effort, incorporating gentle decelerations.
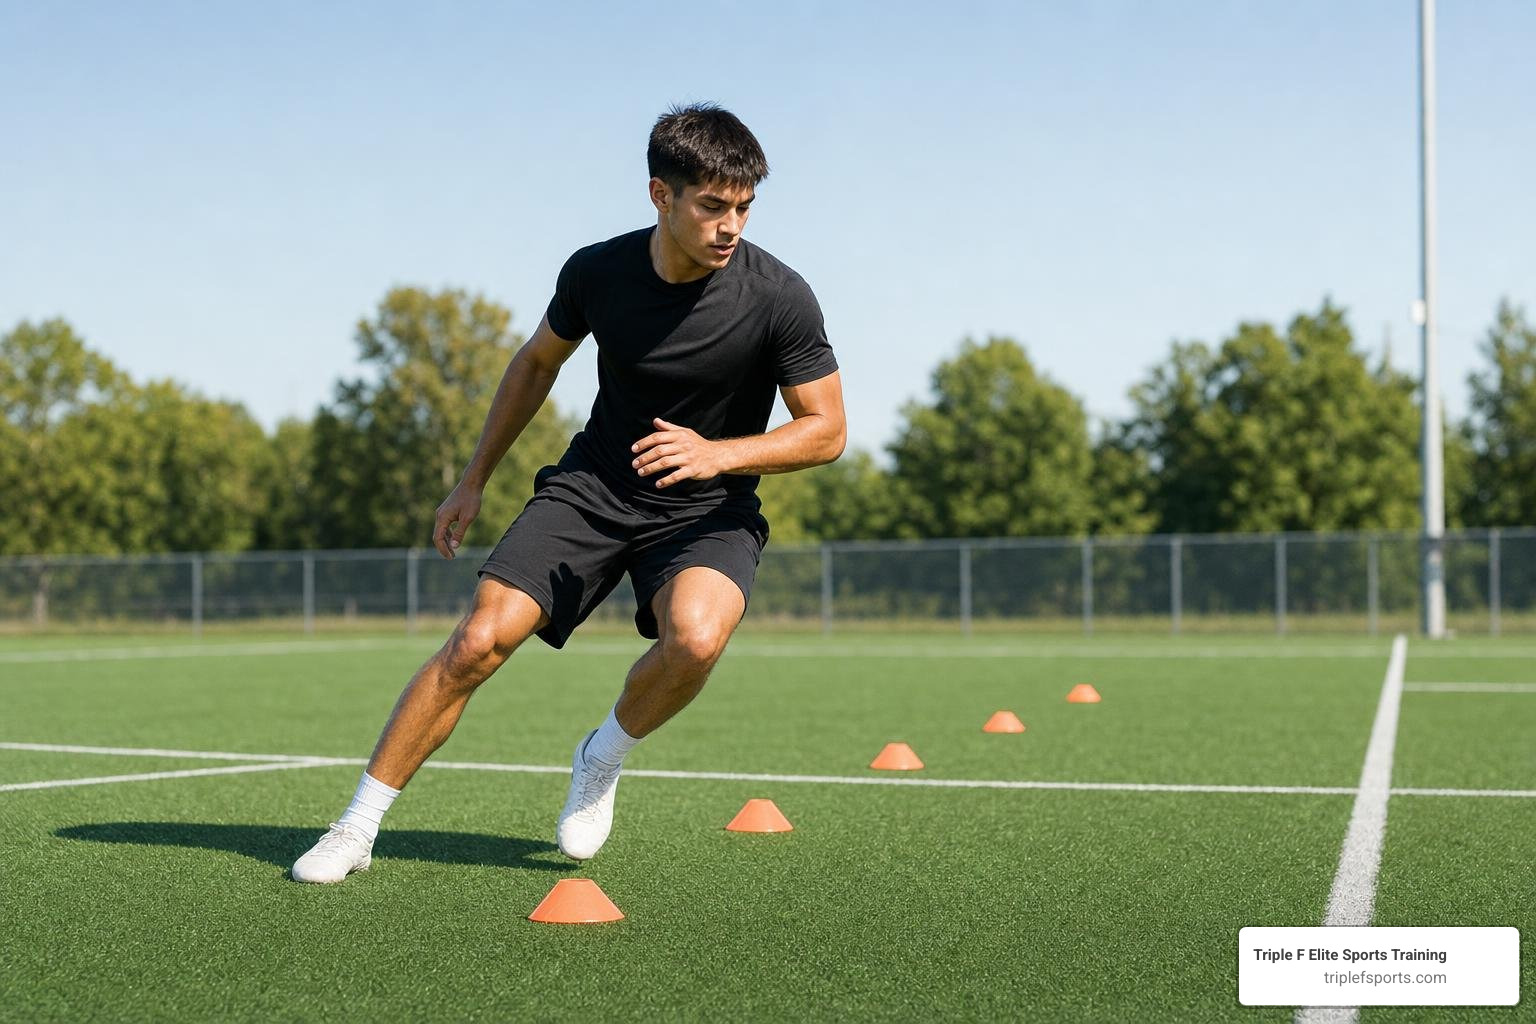
- Stage 3: Introduction of large-angle, low-speed cutting (e.g., running figure-eights or wide S-curves).
- Stage 4: High-speed cutting, reactive agility drills, and sport-specific training (such as kicking a soccer ball or skating).
A systematic review on non-surgical interventions highlights that structured exercise programs targeting hip strength are significantly more effective at reducing pain and restoring function than passive treatments alone. You can read the clinical details of this research in The effectiveness of non-surgical interventions in athletes with groin pain: a systematic review and meta-analysis | BMC Sports Science, Medicine and Rehabilitation | Springer Nature Link.
The Role of Core Strength and Biomechanics
Your groin doesn’t work in isolation. If your core, glutes, and pelvis are unstable, your adductors have to work twice as hard to stabilize your hips, making them highly susceptible to strains.
Furthermore, poor running form — such as “overstriding,” where your foot lands too far in front of your pelvis — creates massive braking forces that travel straight up into your groin and hip joints. A professional biomechanical gait analysis can identify these movement flaws before they cause another injury.
If you are a parent looking to build a resilient foundation for a young competitor, check out The Parents Guide to Safe and Effective Youth Athletic Development. For older athletes looking to optimize their movement mechanics, our comprehensive resource, The Ultimate Guide to Athlete Performance Training, is a great place to start.
Frequently Asked Questions about Groin Strain Rehabilitation
What is the fastest way to heal a pulled groin?
The fastest way to heal a pulled groin is a combination of immediate acute care (the PRICE protocol) followed by a rapid, pain-free transition into active recovery. Complete rest for weeks actually delays healing because it allows weak, unorganized scar tissue to form. By introducing gentle exercise for a pulled groin muscle — like isometric ball squeezes — within the first few days, you stimulate blood flow and encourage the muscle fibers to heal in an aligned, strong pattern. For severe pain, always consult a sports physical therapist for a personalized plan.
Is it OK to stretch a pulled groin?
You should not stretch a pulled groin in the first 72 hours of an acute injury, as this can worsen the muscle tear and prolong your recovery. Once the acute pain has subsided and you can perform basic movements without discomfort, you can begin introducing gentle, static stretches (like the butterfly stretch) within a pain-free range of motion. Never stretch to the point of sharp or intense pain.
How long does it take for a groin strain to heal?
The recovery timeline depends entirely on the severity of the strain. A mild Grade I strain can heal in 3 to 6 weeks with a structured rehab program. A moderate Grade II strain typically takes 6 to 12 weeks. A severe Grade III strain, which involves a complete tear of the muscle or tendon, can take 3 to 6 months or longer and may require surgical intervention.
Conclusion
Recovering from a groin strain requires patience, structure, and a dedication to progressive movement. By respecting the early healing phases, utilizing targeted isometric and eccentric exercises, and gradually rebuilding your lateral capacity, you can return to your sport stronger and more resilient than before.
At Triple F Elite Sports Training in Knoxville, Tennessee, we specialize in helping youth and adult athletes unlock their full potential. Our professional, Christ-centered sports training facility offers comprehensive performance training, elite-level physical therapy, and specialized athletic development designed to keep you in the game.
Whether you are recovering from an acute injury or looking to bulletproof your body against future strains, we are here to support your journey. We even offer your first training session entirely for free.
Ready to take the next step in your recovery?
- Learn how to protect your hips with our guide on How to Prevent Groin Pulls: Stretches, Exercises, and Smart Habits.
- Get back on the field safely with Get Back in the Game with Professional Sports Physical Therapy.
- Discover why personalized care matters by reading Why Your Recovery Needs Comprehensive Sports Therapy.